Broken Earbud: What Causes It?
There are many reasons your bluetooth earbuds may not work due to their mechanical nature. The most common reasons are:
- The earbuds are clogged with debris.
- A broken cable
- A cable jack failure.
- Failure to connect earbuds properly
How To Fix Broken Earbuds
Find the root cause of the problem. Listen closely with your earbuds to find the source of the problem. A dead earbud usually indicates a short in the faulty wiring. The damage could be around the jack plug if there is no output.
If the problem is a broken connection, you can repair them yourself using an electronic soldering iron.
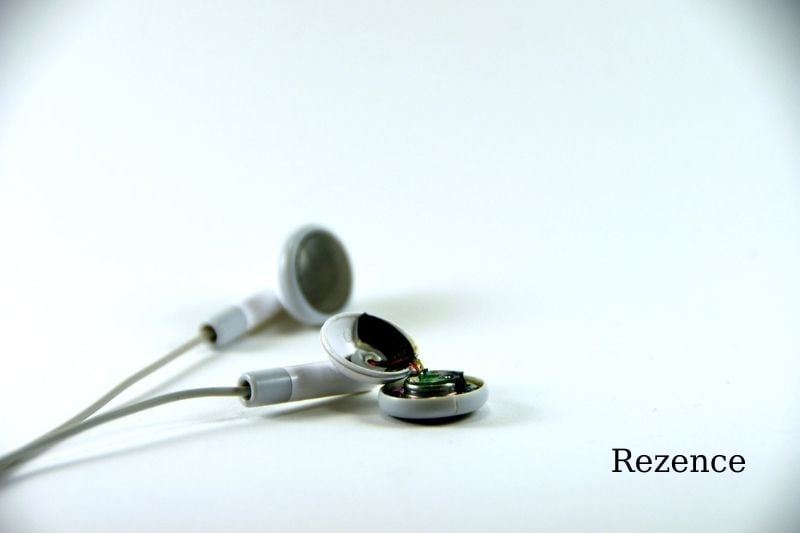
You can open the plastic case of an earbud that isn’t working. You will need a small, thin tool such as a small flat blade screwdriver or a pocket knife to do this. To force the two halves of your housing apart, insert the tip of your tool into the groove. Gently push down and twist the handle.
If your earbuds were not designed to be opened, you might need to glue them back together after you are done.
Examine the wiring of your earbuds to make sure it is in good condition. You should find two copper wires inside the earbud. Each one ear runs to a different terminal on the edge of the circular circuit board. You should be looking for broken wire from their terminals.
If the wires appear to be in the right place, the damaged wires connection may be lower down near the jack.
If the problem is in the barrel of the jack, you can remove it. Sometimes the problem is not in the earbuds, but the jack plug into the car stereo, phone, or laptop.
To expose the wires beneath, remove the rubber coating and the protective plastic base. Once the barrel is removed, you can apply solder as often as necessary.
Some headphone jacks come with barrels that can be screwed off. Some can be pulled apart with a bit of force.
Notice: If the barrel of your earbuds jack is not removable, you might have to cut it off with a wire cutter. You can then buy a replacement to solder the wires onto later. Repair kits for headphone jacks usually cost between $8-10.
- Before resoldering the earbuds, clean out any solder. Place the ends of the desoldering braid flat on the solder blob separated from the terminal. The braid should be heated with your soldering iron at the point where they meet. The copper braid will trap the solder remnants and allow new material to flow.
- You can find desoldering braids at any hardware or home improvement store.
- After removing a blob, trim the ends of the desoldering braid. Then repeat the process for any remaining blobs of solder.
- Connect the wires to the terminals of the earbuds by soldering them. Once the solder has been removed, reconnect the wire to the terminal. Then press a length.032-diameter electronic solder into the joint. Heat it with your soldering iron and secure the wire to melt the solder. Each broken wire should be soldered.
- You can connect both wires to the circuit board if they are damaged.
- You might consider using a pair of pliers or a table clamp to keep the earphone cord and earbuds together while you work.
- To fix the jack, connect colored wires to its terminal. It is important to ensure that the wires are running to the correct terminals before soldering them at the jack. For most pairs of earbuds, the copper wire should be at the central terminal. The red wire should be at the smaller righthand terminal, and the green wire should go to its left.
The problem could be solved by connecting the wires to the incorrect terminals.
You can purchase replacement jacks if you remove the jack to expose the broken wires. Then solder the wires to your color-coded terminals according to the instructions.
You can wind the wire through the small hole of the terminal several times to replace the soldering.
To make sure that your earbuds work, test them. Play some music and plug your earbuds in to verify that they are working. After repairing any damage to the internal wiring, they should be back to normal. Happy listening!
If the sound is still not coming through, the solder may have failed to hold, or the wires were accidentally connected to the wrong terminals. To correct your error, you will need to do it again.
It isn’t easy to justify the effort and cost of replacing shorts at the end of the cord. You may be better off buying new earbuds if you suspect this is the problem.
How To Fix Earbuds Without Soldering
Tape The Defective Earbud
Identify the problem. Play some music and slip the earbuds into your ears. If they start acting up, pay close attention to the source of the problem. If they only cut out on one ear side, this could indicate a problem with the earbud. If there is no sound, it could be the split near the jack, or the metal jack into the device.
To ensure that it is not the headphones, you can try another pair of earphones. If, for example, neither pair of earphones works when plugged into your iPhone, it may be the earphone jack that needs to be replaced.
Sometimes the loose wire is not in the earphones but in the jack that plugs into your phone, laptop, or car stereo. To make exposed wires beneath, remove the protective plastic base.
Notice: Most electrical shorted wires occur in the cord area near the jack and the earphones. This is because this is where the most physical wear and tear occurs.
- Twist the cord until your earphones start to work. Adjust the cord to the damaged area by bending, straightening, and adjusting it. You might be able to hear audio as the wires come in contact with one another. Once you have the cord in a position that allows your earbuds to function properly, keep it still.
- Slowly twist the cord so that you can stop it once it is in a functional position.
- The broken wires may be located closer to the middle of the cord in less frequent cases. To find the location of the disconnect, make sure you test the length of the cord.
- Tape the cord in place. Keep one hand on the cord and use the other hand to wrap a piece of duct or electrical tape around the area where it is short. The tape will seal the wires by compressing the sheath. You can continue to use your earbuds as long as the tape is not removed.
- Bend the cord at the end of the short, and then tape it at the kink. This will stop it from moving as much.
You might consider buying a new pair of earphones. You can tape your earbuds to get them working again. However, it is only temporary. You may have to replace your earbuds or repair them manually if you continue experiencing technical problems. Earbuds are relatively inexpensive these days.
A brand new pair can be purchased at most electronic stores and online retailers for as low as $10-20.
You may be able to return your earbuds to the manufacturer if they are still under warranty. You can check the user manual or receipt to see if a warranty covers your earphone.
Make Sure You Check The Settings
Your audio settings may cause headsets to only play in one ear. Check your audio properties and ensure that the mono option has been turned off.
Also, ensure that both earbuds have equal volume. This can be checked by clicking on the Sounds icon, then going to Levels, and finally selecting Balance. Both headsets must have equal voice levels.
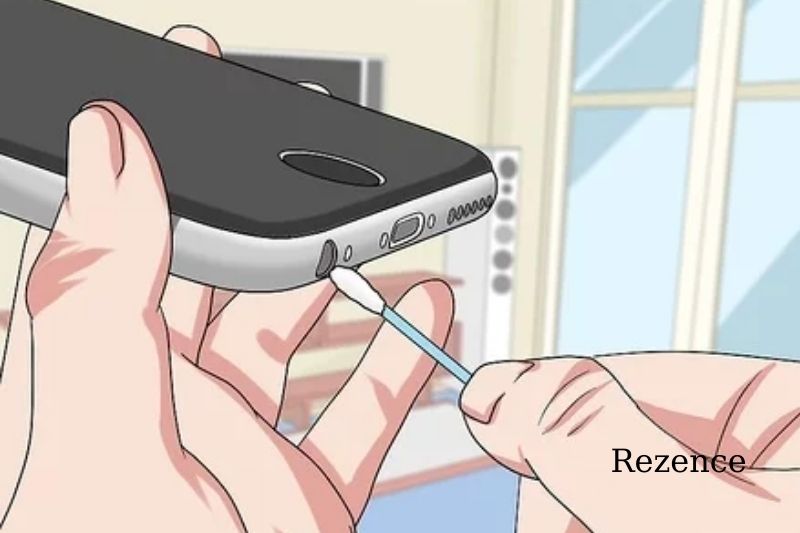
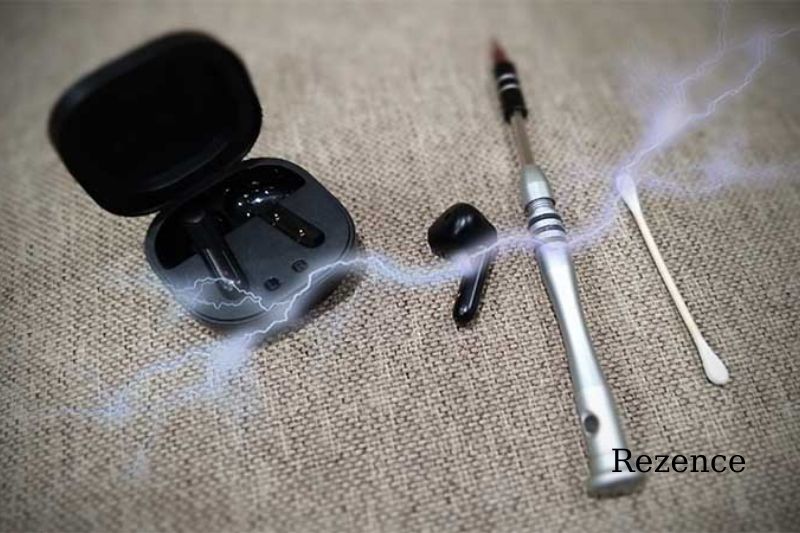
Clean The Headphone Jack
The presence of debris in the headphone jack could cause your earphones to stop working. Do you ever leave your phone in dusty environments or your bag? Some debris can get in the headphone jack, causing problems with one ear or both ears.
There are many ways to clean your headphone jack.
- You can use compressed air to clean the ports. It takes about four sprays. Although it is unlikely that this will cause any damage to your headphone jack or plug, it might not remove stubborn dirt from the corners.
- Another option is to use a cotton swab (or cotton buds) for cleaning your ear. You can use this method, but make sure the buds don’t become too fluffy. This will prevent any cotton from getting stuck to the earphones.
After making sure that the cotton swab fits snugly into the hole, spin the swab slowly to clean all sides of the earphone jack. The dirt will fall out when you take off the jack.
Some people recommend lightly coating the cotton swab with alcohol. You should ensure that the cotton swab is dry after coating it with alcohol. The earphone jack can be corroded by alcohol. This is why you shouldn’t consider this option unless necessary.
After a few minutes, you are ready to put your pair of headphones on and give them a shot.
Restart Your Device
Your device’s audio function can be affected by updates. During browsing or the operation of your phone, you can also accidentally alter settings. First, restart your device before proceeding. This is how to do it.
- Hold down the Power button at the side of your Android phone.
- Give the phone a few minutes to shut down, then select restart.
- Make sure to check the audio output settings of your device
- It may sound strange, but your device’s audio settings could be the cause. If the mono option is enabled, it may be the case. You can fix earphones by going to the audio settings and turning it off.
- Start playing music by connecting your pair of headphones to the device.
- To increase or decrease volume, press the volume button at the sides. You will see the volume bar on the right side of your screen. To see more options, tap the three vertical dots located at the bottom of the bar.
- Select Levels > select Balance
- Keep listening to the music and adjust the balance until both the volume and the vocal quality of the headsets are equal.
- If that doesn’t solve the problem, the damaged part of the earphone cords could be the cause.
How To Fix Earbuds That Work On One Side
These troubleshooting steps will help you if only one earbud is working.
- Reconnect and unplug. This may resolve the problem with one-sided sound quality.
- Clean the earphone. Only one earbud that is clogged with debris may cause it to stop working.
- Connect Bluetooth. Reconnect Bluetooth if they are wireless headphones. This will reset the sound and may resolve the problem.
- Verify that the side audio balance setting is not set to the left or right.
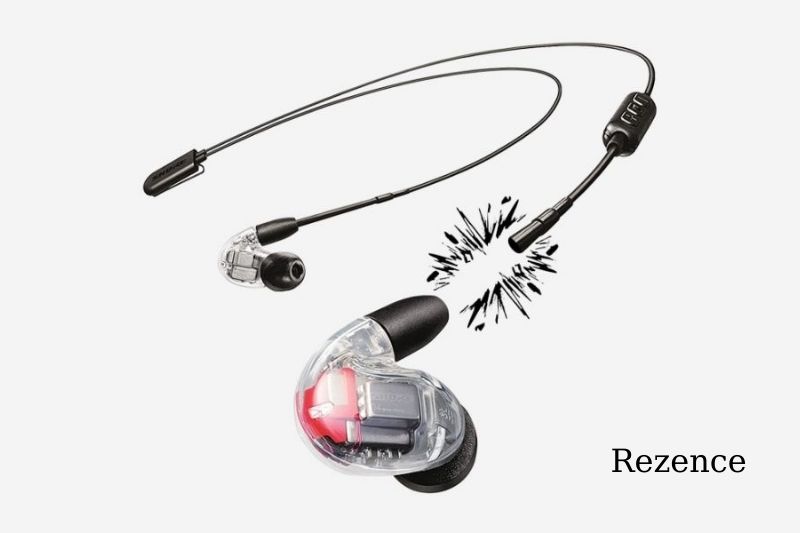
How To Fix Cracked Earbuds
These steps will help you troubleshoot a problem with your earbuds.
- Reconnect the earbuds and unplug them. This could fix the problem that causes crackling.
- Make sure the audio cable jack connection is correct for wired headphones. Push it gently to ensure the audio cable is properly connected to the device.
- Clean the audio jack plug. Crackling sounds can be caused by debris buildup. To remove debris or dust, blow into the audio jack. To blow out debris, you can also use compressed air.
- Bluetooth earbuds can be disconnected and reconnected by disconnecting and reconnecting. Disconnect and reconnect Bluetooth device to fix the crackling problem
Some Tips That Will Make Your Products More Durable And Functional
Securely Wrap The Cable
When wrapping their earbuds, some people pull on the cord. It isn’t the right way to do it. This can cause damage and put pressure on the wiring. Instead of wrapping your smartphone around the cord, wrap it gently around your hand. Wrap the wire around your hand by pulling it in the center of the looped cable.
Now you can tie the loop together. You should pull the loop more gently than a regular knot.
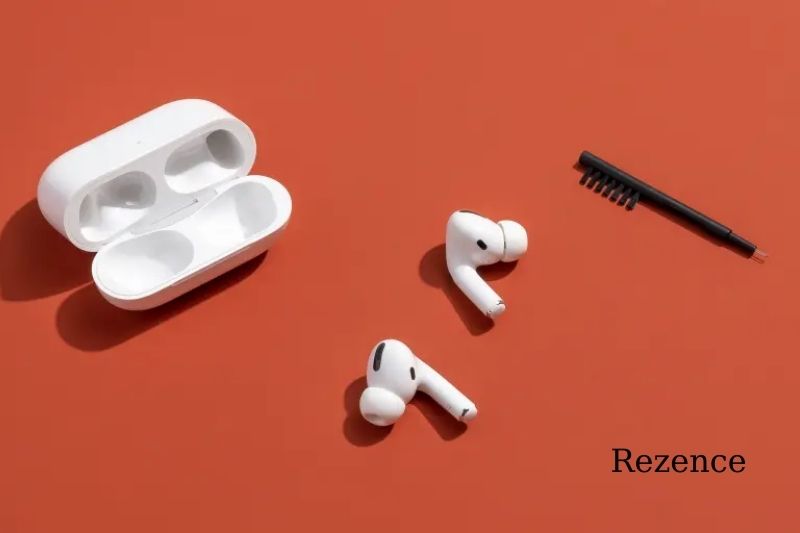
Clean Up Regularly
Dust and earwax can build up in your earbuds, which can cause them to stop working or become muffled. In-ear earbuds can be removed and cleaned by removing the covers.
You can clean your headphones with mesh screen covers if you have dried the ear wax. After drying, soak the mesh screen in less than 3% hydrogen peroxide for a few minutes. You can blow it into the ear if it does not sound right after cleaning. This will help align a curved speaker.
Take Care Of The Weak Spots
Failure in function can result from any connection in your earbud’s wiring. These could be your earpiece, plug, volume sliders, remotes, or in-line splitters.
The best way to manage your earbuds is to pull the plug out of the earbuds instead of pulling it out. Your earbuds should not be left hanging at the corner of the table.
Purchase Durable And High-quality Wireless Headphones
You may not be taking care of your accessory as some models have weak wiring that can cause damage. Remember that just because a model is expensive does not mean it is high quality.
When shopping for earbuds on Amazon, make sure to look out for models with thick cabling. Right-angle plugs better protect the damaged wire when they are pulled out.
Conclusion
The broken wire is the root cause of most headphone and earbud repair jobs. Although cables can be broken in many places, the solution is the same. No matter your situation, we urge you to give it another shot.
It seems like the easiest way out is to throw away faulty earbuds. It can be costly if you continue to throw away faulty earbuds. It is cheaper and easier to fix them yourself than buying new ones or having them repaired. Replacing a cable is a lot easier than replacing earbuds or headphones. We hope you found this article helpful in identifying the issue. If you have further questions or concerns, we’re happy to help.